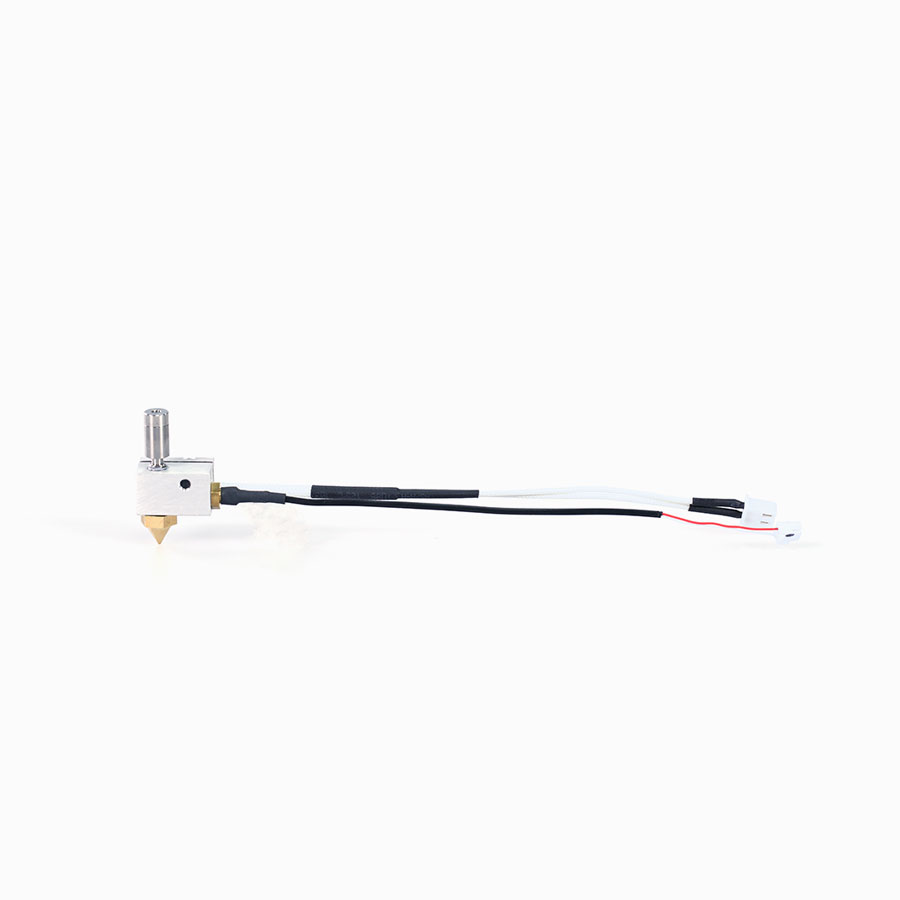
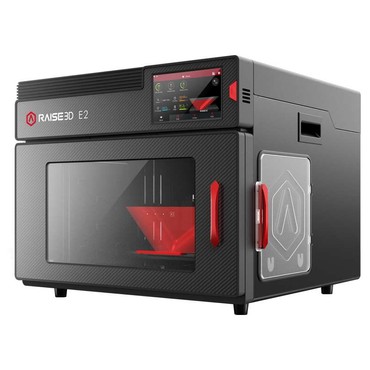
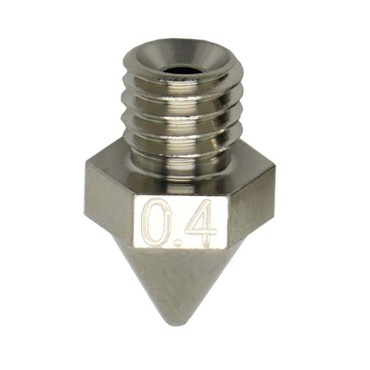
Raise3D E2 Left Hot End Assembly
left or right Hotend for Raise3D E2 3D Printer
- Manufacturer: Raise3D
- Manufacturer number: [S]3.01.1.018.023A01
- EAN: 6970240722618
- Item number: 35080
- Availability: from stock > delivery time 1-3 working days
left or right replacement hotend including heating cartridge and temperature sensor (thermistor)
compatibility
- 3D printer Raise3D E2
Installation Tips:
When disassembling and assembling the hotend, please turn off the printer. The temperature of the hotend can be very high, so please wear the supplied heat-insulating gloves and use needle-nose pliers for all operations. Be sure to carefully check all wiring and power supply values. It is recommended to intervene on the nozzle only after turning off the power supply to avoid the possibility of short circuit and fire. Please refer to the hot-end assembly replacement manual to learn how to disassemble and reassemble the hot-end.
